
MAS 863: How to Make (Almost) Anything
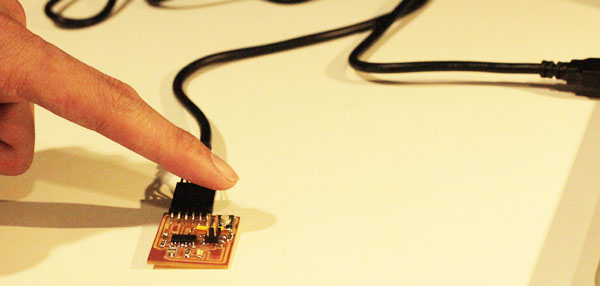
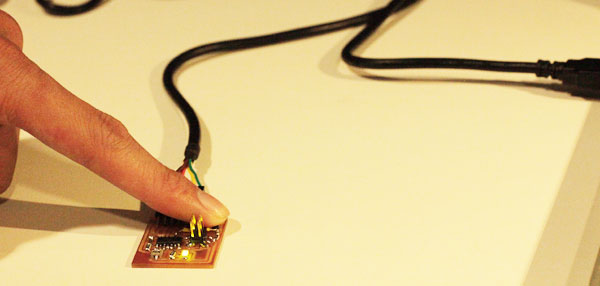
the outcome of using a button the control a LED through Atttiny44
Neil's basic example of Attiny44+external rasonater for key press echo through python interface is documented down at the bottome.
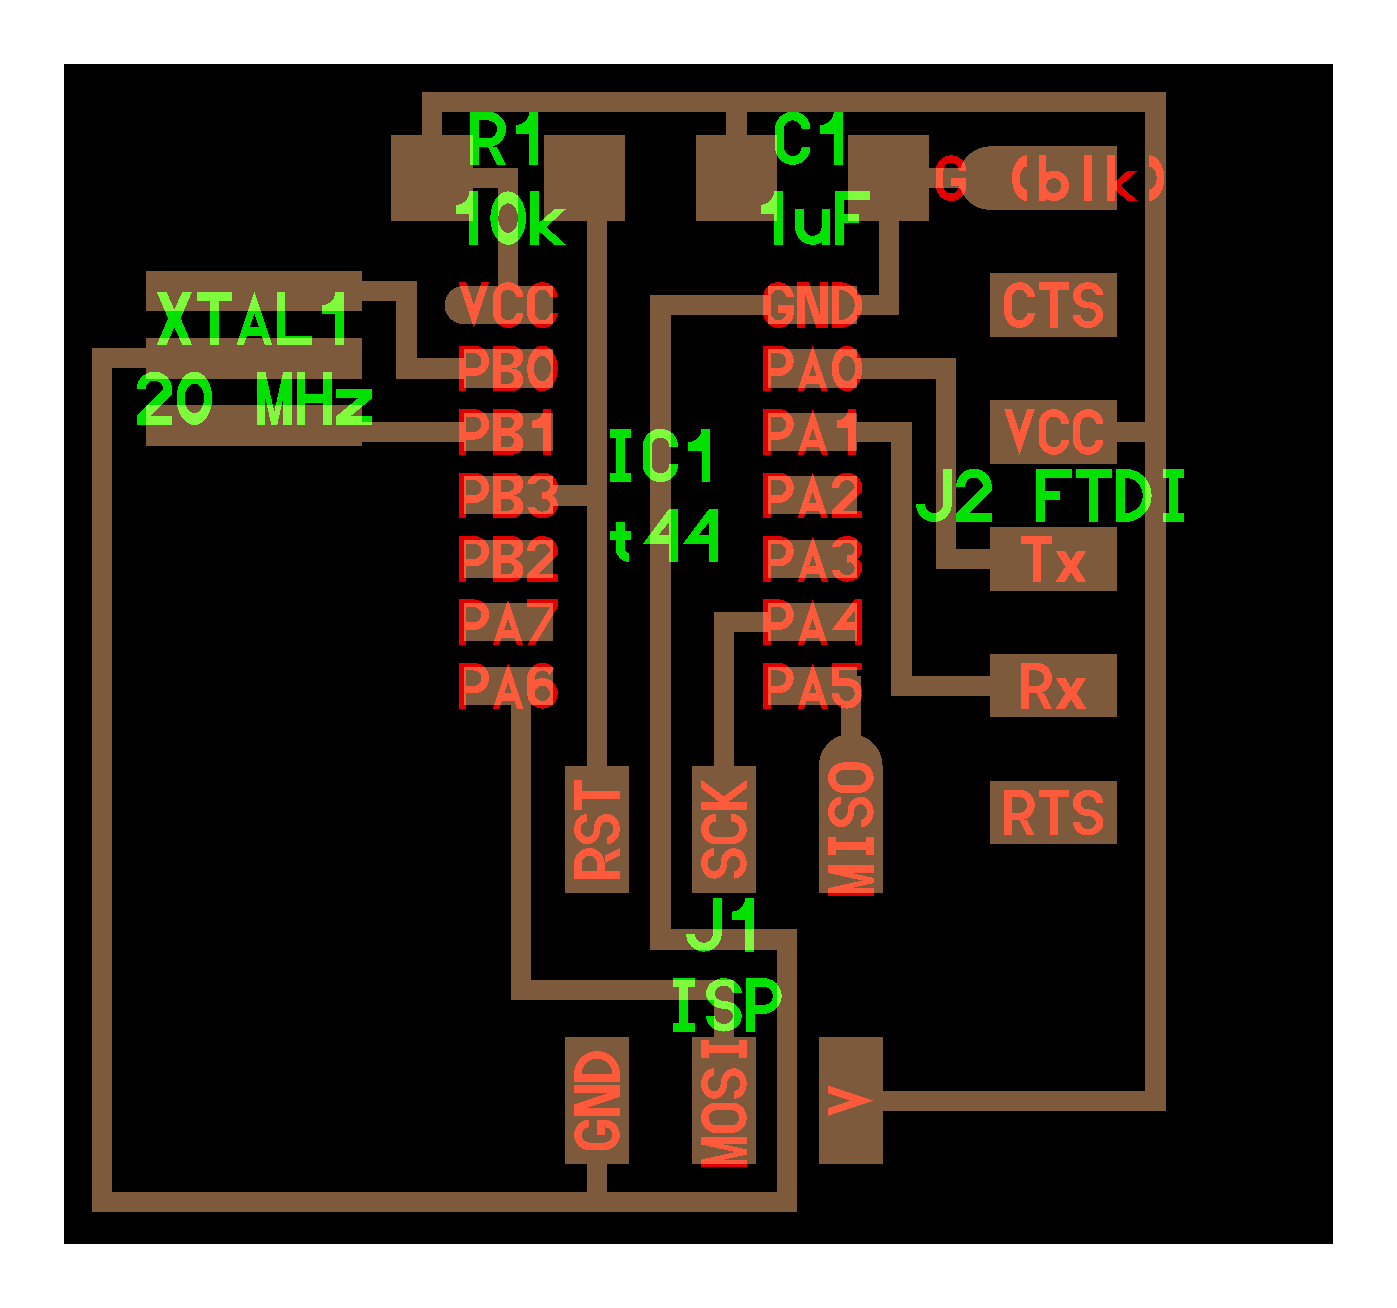
1) Eagle design
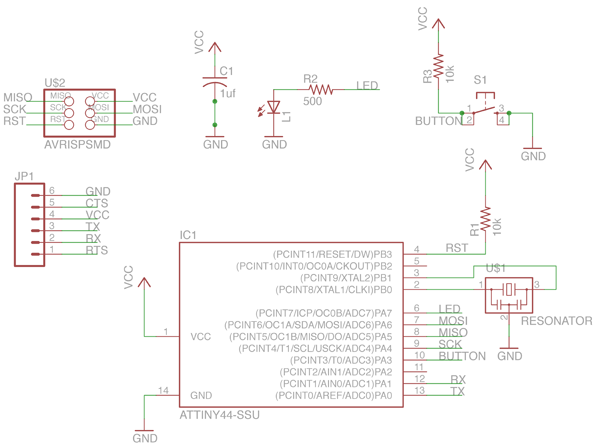
Attiny44 is one of the micro-controllers belonging to the big family of Atmel. The original board "helloFTDI" for Attiny44 chip can be downloaded below.
Based on the original board, I added a button, and a Led with a 500 resisitor.
- download the Eagle, and install the free version.
- find the folder "eagle" under document, and copy the "helloFTDI" folder into "eagle" folder.
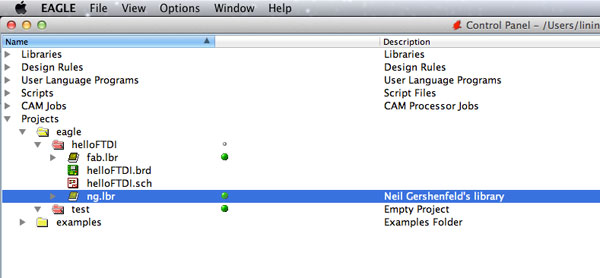
- open Ealge, the "hellowFTDI" should be show on the left under "Project"
- turn on the two libraries, "fab" and "ng", to be green dots.(see the right image 1)
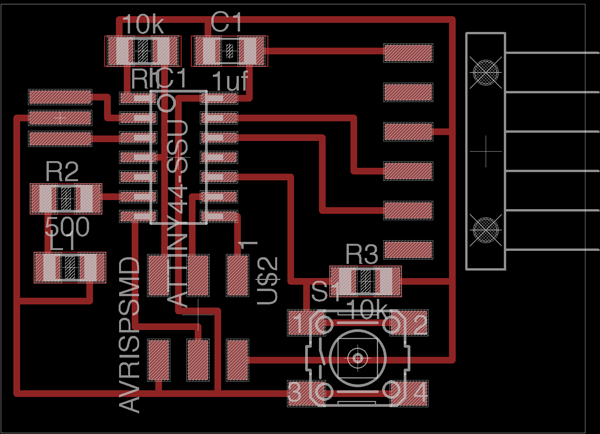
- open the Schematic and Board Layout at the same time. Board Layout will change automatically based on the Schematic if both are opened.
- edit the schemitic, verify the design; then switch to the Layout, based on the thin green lines to add "route" on the Layout, verify the design again; export Layout as png.
Download:
-
Common Used Command line for Eagle is documented here based on Adam Stephen's tutorial.
- the original eagle file
- the modified eagle file
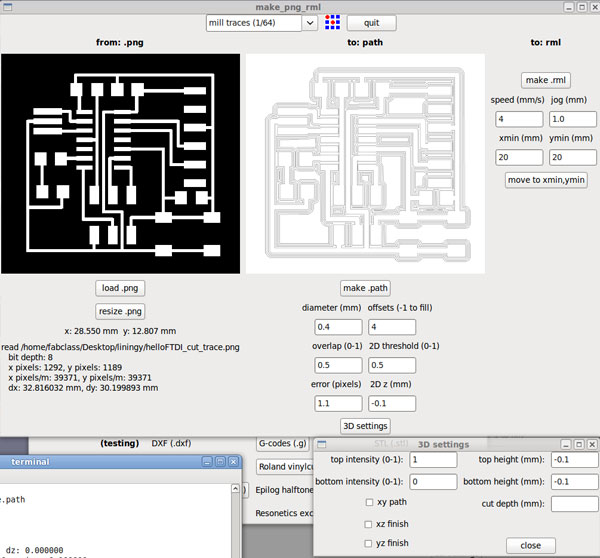
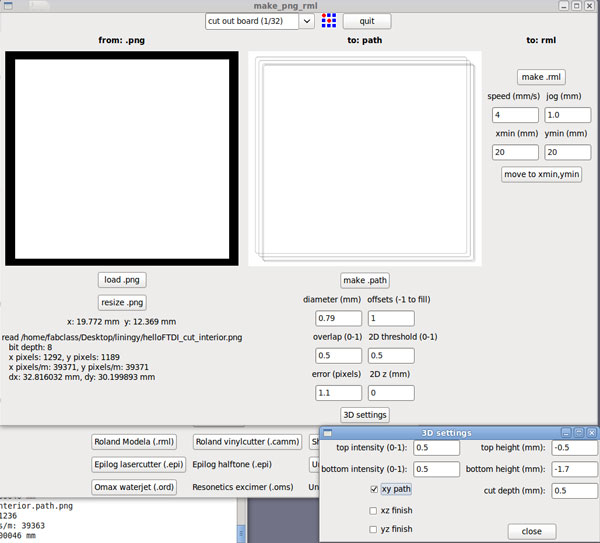
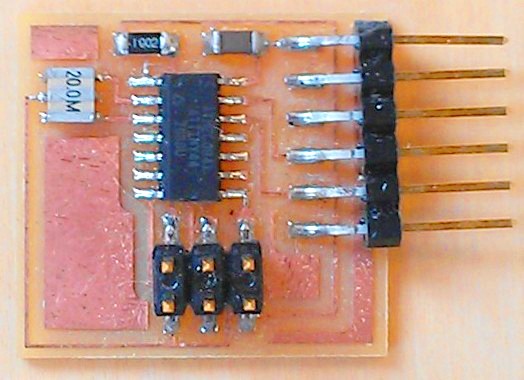
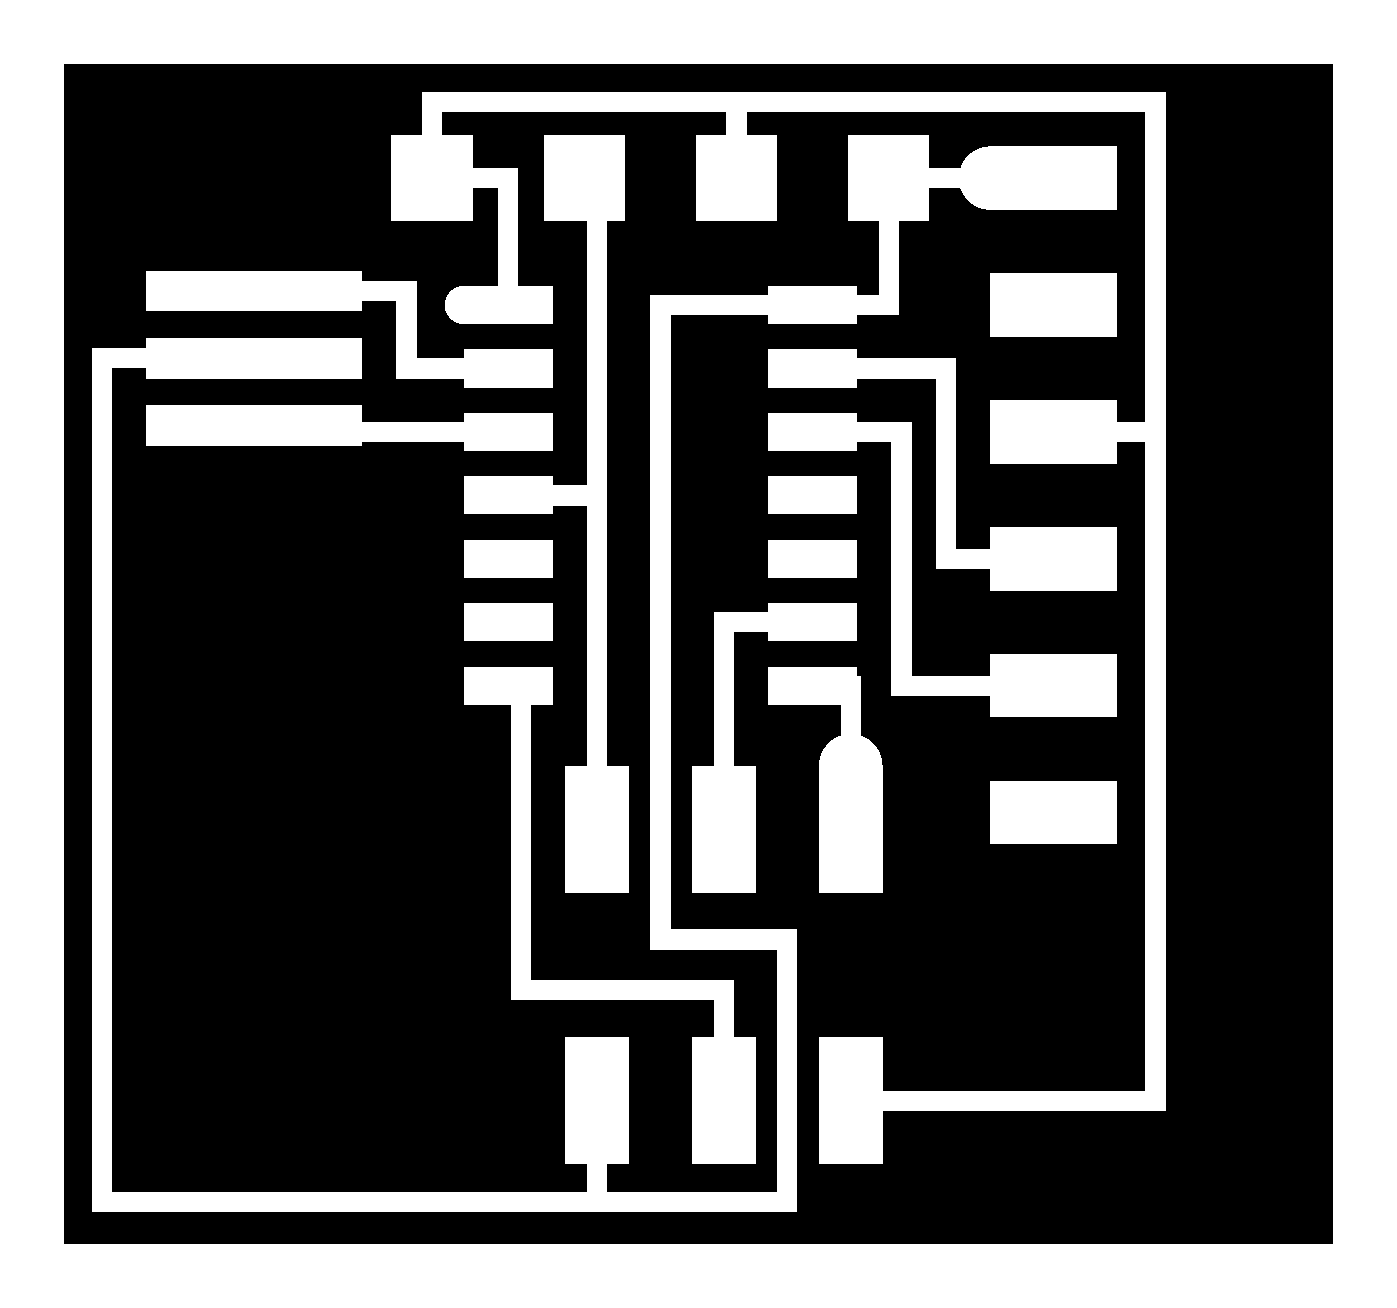
using the same technique as I discussed in week 2 to mill out the board. 2D cutting with 1/64 end mill for the traces, and 3D cutting with 1/32 end mill for the cut out.
tips:
1) follow the setting on the screenshot on the right images.
David has an online tutorial about the process.
1) download Arduino 1.0. It needs to be the specific version of Arduino. And follow David's tutorial to add a Attiny folder to Arduino folder.
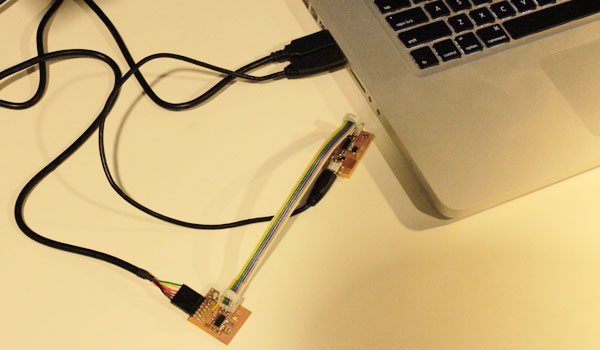
2) connect the new board with computer through a FTDI cable. FTDI is for power supply and send/receive data from computer after being programmed.
3) connect fabISP with computer using a minu usb cable
4) connect fabISP (programmer) with the board using the 3 by 2 headers.
5) selet the board "Attiny44", select the serial number, it usaully is the first or the second one; select the programmer 'tinyFabISP"; run bootloader;click the compile and upload button on Arduino.
download:
The Arduino Source File
tips:
1) change the value of fuse in your make file from 7E to FE
2) we are using port A, so use DDRA and PORTA instead of DDRB and PORTB
Neil's basic example of Attiny44+external rasonater for key press echo through python interface
board
components
traces
cutout
echo c file
echo make file
to program the board, commands to type in:
make -f hello.ftdi.44.echo.c.make
sudo make -f hello.ftdi.44.echo.c.make program-usbtiny-fuses
sudo make -f hello.ftdi.44.echo.c.make program-usbtiny
To read out the serial and see if the board is working, Neil wrote a python script: term.py
To run term.py, type into terminal:
python term.py /dev/ttyUSB0 115200
A detailed tutorial on how to interprete some commands and code of c file, make file, and python file, check a tutorial I wrote.